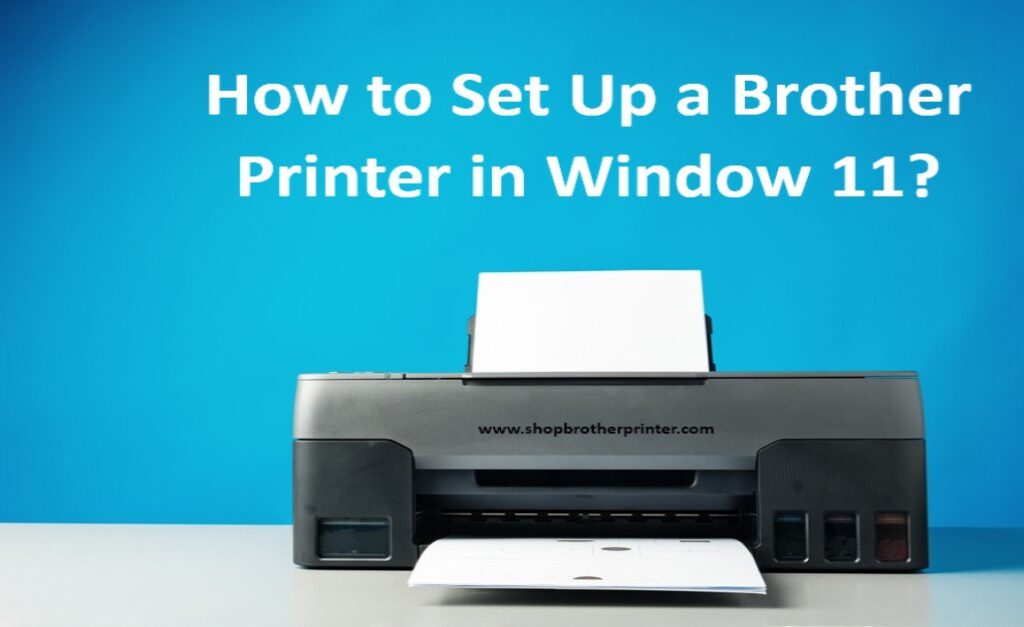
Brother is a famous and very recognized brand for its product quality and reliability or for its service also which they are giving to their customers for more than 100 years through the Brother printer customer care, Brothers has also known for their uniqueness in designs for which they get awarded many times , in the brothers there are so many products or variety in printers if you want to do a setup in Brothers printer in windows so you have to follow these several steps that are mentioned here:
How to connect Brother printer wirelessly or by USB
1. Before you start the setup procedure of the brother printer in window 11 you have to download or install the printer driver from the official website and extract the printer driver.
2. For extracting the printer driver, you have to click on that downloaded file then ZIP Self Decompression window will show then you have to choose the browsing path where you would like to save that file then decompress the file.
3. Once the decompression is done then you have to check the USB connection for that you have to connect a USB cable to your printer from your system and cable that you use should not be more than of 6 feet then switch on your printer and go to your windows setting choose Bluetooth devices and click on add devices in device option then add your printer.
4. If your printer was not listed there, then you have to select the option ‘printer I want is not listed here’ then choose add a local printer and click next.
5. After that use an existing port and select a labelled port USB00X (the last three letters should be numbers) and choose next.
6. And for the network connection when you click on the option add a printer it will start searching for your printer and before that you need to confirm that your device is connected to your network.
7. After searching if it shows your printer in the list you don’t have to choose it there you have to go for the option printer that I want is not listed there and choose my printer is little bit older help me to find it because these options help your system from re-adding the genetic driver through which your printer is not able to functionally fully.
8. Then your window finds your printer and chooses your printer there and clicks next.
9. When you are done with your connection you have to select the disk and browse it through the browsing path that you choose for extracting the printer driver and open it and select your printer model name then click next.
10. If a message shows on your screen that shows your driver is already installed, then you need to choose the option to replace the current driver and we advise you to leave the default printer name and choose next.
11. Then choose the printer sharing option or you can check next to set as the default printer or you can print a test page and click on finish.
12. Now, your printer driver is installed in your windows.
We give you a step-by-step guidance above for setup of brother printer in your windows if your setup is still not completed then you have to contact Brother printer customer support.